iPhone SDK မှာ UITable ကလည်း အရေးပါပါတယ်။ အရင်ဆုံး ကျွန်တော်တို့တွေ UITableView လေးကို စမ်းသုံးကြည့်ရအောင်။
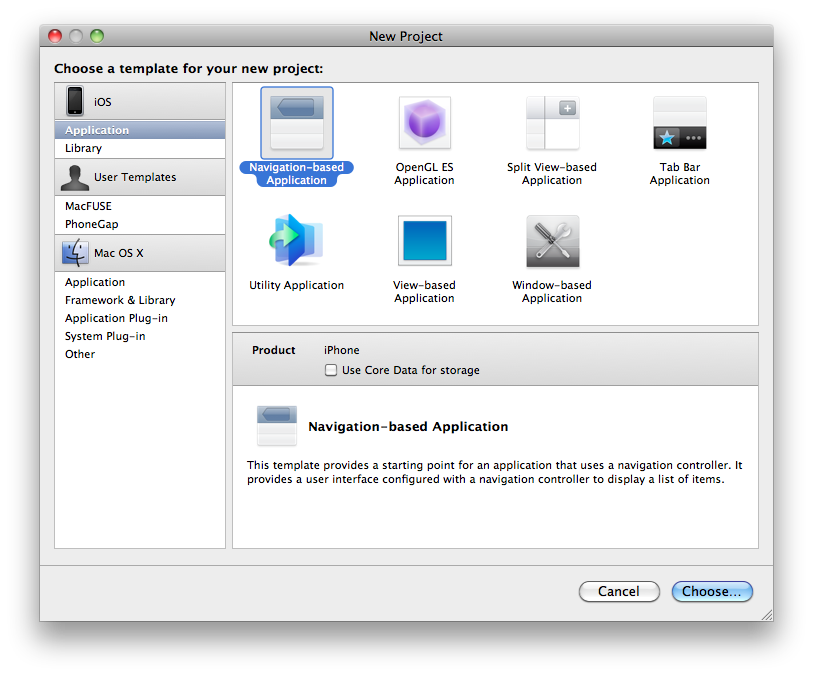
Navigation-base Application ကို ရွေးလိုက်ပါ။
RootViewController.h မှာ ဒီလို ရေးလိုက်ပါမယ်။
@interface RootViewController : UITableViewController {
NSMutableArray *listItem;
}
@property(nonatomic,retain) NSMutableArray *listItem;
RootViewController.m မှာ အရင်ဆုံး
@implementation RootViewController
@synthesize listItem;
နဲ့
- (void)dealloc {
[listItem release];
[super dealloc];
}
ကို အရင် ရေးပါမယ်။ အဲဒီ အကြောင်းကို ကျွန်တော် Learn Objective-C Series မှာ ပြောခဲ့ပါတယ်။ ကဲ… အခု listItems မှာ အရင်ဆုံး data တွေ ဖြည့်ရအောင်။
- (void)viewDidLoad {
[super viewDidLoad];
self.navigationItem.title=@"UITableView";
listItem=[[NSMutableArray alloc]init];

[listItem addObject:@"Yangon"];
[listItem addObject:@"Mandalay"];
[listItem addObject:@"NayPyiDaw"];

}
addObject ဆိုတာက listItem array ထဲမှာ data တွေ ဖြည့်လိုက်တာပါ။
self.navigationItem.title=@"UITableView";
ကတော navigation ရဲ့ ခေါင်းစဉ်ကို တပ်လိုက်တာပါ။
- (NSInteger)numberOfSectionsInTableView:(UITableView *)tableView {
return 1;
}
numberOfSectionsInTableView ဆိုတာက Section Number ဘယ်လောက် သုံးမလဲဆိုတာကို ပြောတာပါ။ အခု Tutorial မှာ section တွေ ခွဲတာ မပါပါဘူး။ ဒါကြောင့် return 1; ပဲ ရေးထားလိုက်ပါတယ်။
- (NSInteger)tableView:(UITableView *)tableView numberOfRowsInSection:(NSInteger)section {
return [listItem count];
}
row အရေအတွက် ဘယ်လောက်လဲဆိုတော့ listItem ထဲမှာ ရှိသလောက်ဆိုပြီး return ပြန်လိုက်ပါတယ်။
ကဲ… အခု နောက်ဆုံး အဆင့် Table ရဲ့ cell ထဲမှာ data တွေ ဖြည့်ပါတယ်။
// Customize the appearance of table view cells.
- (UITableViewCell *)tableView:(UITableView *)tableView cellForRowAtIndexPath:(NSIndexPath *)indexPath {

static NSString *CellIdentifier = @"Cell";

UITableViewCell *cell = [tableView dequeueReusableCellWithIdentifier:CellIdentifier];
if (cell == nil) {
cell = [[[UITableViewCell alloc] initWithStyle:UITableViewCellStyleDefault reuseIdentifier:CellIdentifier] autorelease];
}

// Configure the cell.
cell.textLabel.text=[listItem objectAtIndex:indexPath.row];
return cell;
}
အဲဒီ code မှာ ကျွန်တော်တို့ ရေးရတဲ့ အပိုင်းကတော့
cell.textLabel.text=[listItem objectAtIndex:indexPath.row];
ဆိုတာပဲ ရှိပါတယ်။
cell.textLabel.text ကတော့ cell မှာ စာဖော်ပြပေးဖို့ပါ။ လက်ရှိ row number ကနေ တဆင့် listItem ကနေ data ပြန်ထုတ်ဖို့အတွက် [listItem objectAtIndex:indexPath.row] ကို အသုံးပြုထားပါတယ်။ indexPath.row က လက်ရှိ row number ကို return ပြန်ပေးတာပါ။ table မှာ data ဖြည့်တဲ့အခါမှာ
- (UITableViewCell *)tableView:(UITableView *)tableView cellForRowAtIndexPath:(NSIndexPath *)indexPath {
မှာ row အရေအတွက် ရှိသလောက် အလုပ်လုပ်ပေးသွားမှာပါ။ ဒါကြောင့် cell ကို row တစ်ကြောင်းဆီ ဖြည့်သွားတာပေါ့။
ကဲ.. run လိုက်ရင် အောက်ကလို မြင်ရပါမယ်။

3 Replies to “UITableView Tutorial”