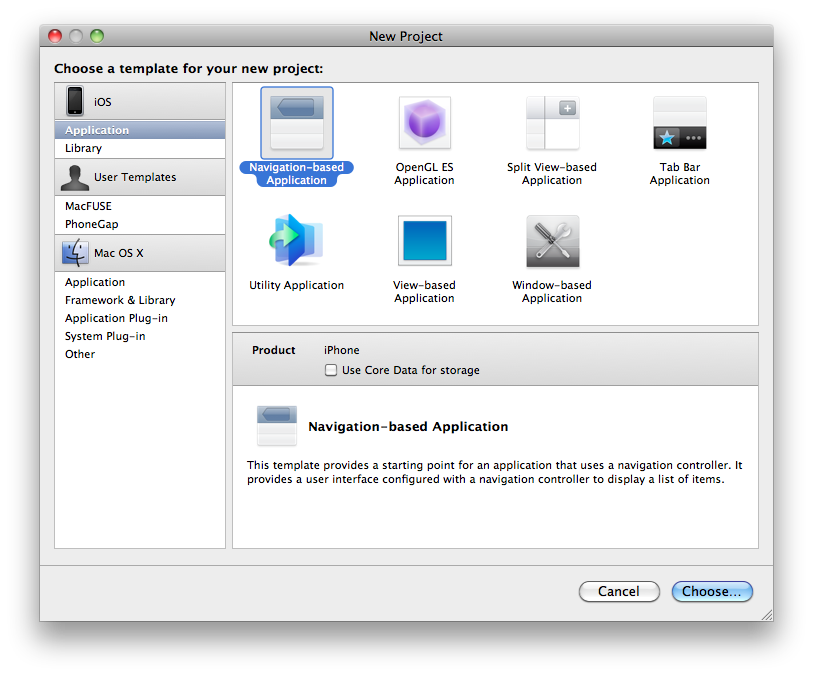
အခု အပိုင်းမှာတော့ UITableView မှာ Section တွေ ခွဲပြီး သုံးတဲ့ အကြောင်းရေးမှာပါ။ အရင်ဆုံး Navigation-base Application ကို ရွေးလိုက်ပါ။
RootViewController.h မှာ listItem ကို ကြေငြာထားခဲ့ပါမယ်။
#import <UIKit/UIKit.h>

@interface RootViewController : UITableViewController {

NSMutableArray * listOfItems;

}

@property(nonatomic,retain) NSMutableArray * listOfItems;

@end
RootViewController.m မှာတော့
@synthesize listOfItems;
နဲ့ release ပြန်လုပ်ပေးဖို့ လိုပါတယ်။
viewDidLoad မှာတော့
- (void)viewDidLoad {

[super viewDidLoad];

//Initialize the array.

listOfItems = [[NSMutableArray alloc] init];

NSArray *countriesToLiveInArray = [NSArray arrayWithObjects:@"Iceland", @"Greenland", @"Switzerland", @"Norway", @"New Zealand", @"Greece", @"Rome", @"Ireland", nil];

NSDictionary *countriesToLiveInDict = [NSDictionary dictionaryWithObject:countriesToLiveInArray forKey:@"Countries"];

NSArray *countriesLivedInArray = [NSArray arrayWithObjects:@"India", @"U.S.A", nil];

NSDictionary *countriesLivedInDict = [NSDictionary dictionaryWithObject:countriesLivedInArray forKey:@"Countries"];

[listOfItems addObject:countriesToLiveInDict];

[listOfItems addObject:countriesLivedInDict];

//Set the title

self.navigationItem.title = @"Countries";

}
code က ရုတ်တရက် ကြည့်လိုက်ရင် ရှုပ်သွားနိုင်တယ်။ Dictionary တွေကော NSArray တွေကော NSMutableArray ကော ရှုပ်နေပါတယ်။ Section ၂ ခု သုံးမှာ ဖြစ်တဲ့အတွက် Dictionary ၂ ခု ခွဲလိုက်ပါတယ်။ section တစ်ခုမှာ rows အတွက် ဖြည့်တဲ့ အခါမှာ indexPath.row နဲ့ ပြန်ခေါ်လို့ရအောင် Array ကို သုံးထားလိုက်တာပါ။
ပြန်စဉ်းစားကြည့်ရအောင်
Section 1 ကို ရောက်ရင် Dictionary ကနေ Arrary ကို ဆွဲထုတ်မယ်။
ပြီးရင် Array ကနေ indexPath.row နဲ့ text ကို ထုတ်ပြီး cell မှာ ပြမယ်။
ဒီလောက်ဆိုရင်တော့ ဘာလို့ Array သုံးထားလဲဆိုတာ ရှင်းမယ်ထင်ပါတယ်။ ရှေ့ဆက်ရအောင်။
section ဘယ်နှစ်ခု သုံးမလဲဆိုတာအတွက်
- (NSInteger)numberOfSectionsInTableView:(UITableView *)tableView {

return [listOfItems count];

}
rows အတွက်ကတော့
- (NSInteger)tableView:(UITableView *)tableView numberOfRowsInSection:(NSInteger)section {

NSDictionary *dictionary = [listOfItems objectAtIndex:section];

NSArray *array = [dictionary objectForKey:@"Countries"];

return [array count];

}
အရမ်းရှင်းပါတယ်။ section ကနေ တဆင့် NSDictionary ကို ခေါ်လိုက်တယ်။ ပြီးမှ array ထဲမှာ ရှိတဲ့ count အတိုင်း numberofRows ကို သတ်မှတ်လိုက်တယ်။
အခု section header ထည့်ပါမယ်။
- (NSString *)tableView:(UITableView *)tableView titleForHeaderInSection:(NSInteger)section {

if(section == 0)

return @"Countries to visit";

else

return @"Countries visited";

}
section က 0 ဖြစ်နေရင် Countries to vist ဆိုပြီးတော့ ဖော်ပြမှာ ဖြစ်ပြီး 1 ဖြစ်နေရင်တော့ Countries visited ဆိုပြီး ဖော်ပြပေးမှာပါ။
အခုတော့ နောက်ဆုံး အဆင့် cell မှာ ဖော်ပြပါတော့မယ်။
- (UITableViewCell *)tableView:(UITableView *)tableView cellForRowAtIndexPath:(NSIndexPath *)indexPath {

static NSString *CellIdentifier = @"Cell";

UITableViewCell *cell = [tableView dequeueReusableCellWithIdentifier:CellIdentifier];

if (cell == nil) {

cell = [[[UITableViewCell alloc] initWithStyle:UITableViewCellStyleDefault reuseIdentifier:CellIdentifier] autorelease];

}

// Configure the cell.

NSDictionary *dictionary = [listOfItems objectAtIndex:indexPath.section];

NSArray *array = [dictionary objectForKey:@"Countries"];

NSString *cellValue = [array objectAtIndex:indexPath.row];

cell.textLabel.text = cellValue;

return cell;

}
ကျွန်တော် အပေါ်မှာ ပြောထားခဲ့ဘူးသလိုပဲ dictionary ကို section ပေါ်မှာ မူတည်ပြီး ထုတ်လိုက်ပါတယ်။ ပြီးတော့ array ကို ဆောက်တယ်။ array ကနေ တဆင့် indexPath.row နဲ့ ဆွဲထုတ်လိုက်တယ်။ ပြီးတော့ value ပြပေးတယ်။ run ရင်တော့ အောက်ကလို မြင်ရပါမယ်။

မသိတာ ရှိရင် comment မှာ မေးနိုင်ပါတယ်။
[ref: http://www.iphonesdkarticles.com/2009/01/uitableview-sectioned-table-view.html]